Lattice fences
Many people like the look of lattice fences because it evokes the feeling of a garden like back yard.
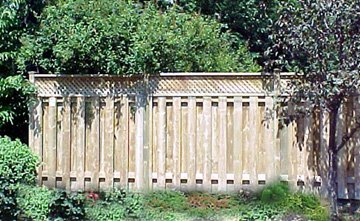
The most popular way of installing a fence is the good neighbor method where you alternate slats from one side to the other. The fence looks the same on both sides. You can also control the amount of privacy that you desire by adding more slats.
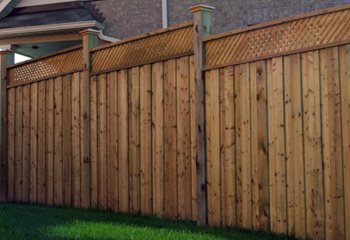
This fence design shows that the fence slats are nailed on to each other creating total privacy. 6”x 6” posts were used caped with copper fence caps..
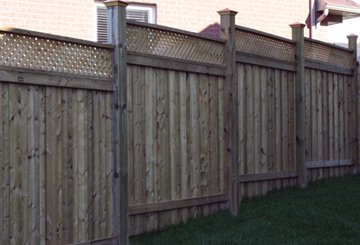
Because the slates are nailed together on to one side of the stringers the other side of the fence shows the exposed stringers or frame work. Therefore there are two sides to this fence. If you are sharing cost with your neighbor you should first decide who will get which side of the fence..
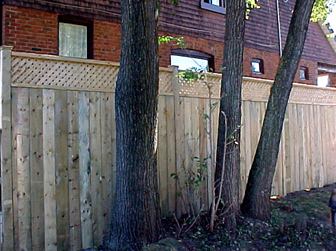
This all on one side design where the fence slats are placed side by side is similar to the nailed together version in that the fence has two different looking sides. You can also control how private you want the fence to be by leaving no gaps to as large a gap as you wish. Even if you install the fence slats beside each other when the wood dries you will have some board shrinkage which will create gaps..
There is also the sandwiched version of lattice fences where the fence slats are installed side by side but both sides of the fence is made to look similar. Usually the lower and upper stringers are installed at the upper and lower extremities..
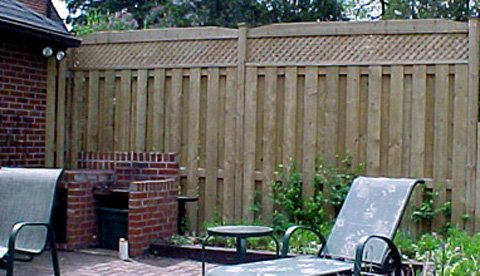
You can also cut a pattern in to the top finishing board. This particular design served as a seven foot plus privacy divider. You should install a third stringer usually in the middle section of the fence to reinforce the height. In this fence design the stringer is installed closer to the lower part of the fence for a different look..
If you like the look of lattice fences and this is the design you will build but need general fence building tips please go to our home page and fallow the step by step building instructions for the T-bar design..
BUILDING INSTRUCTIONS.
The only difference when building the T-bar and turning it into a lattice fence is that the top 2"x4" which lays flat on the top fence stringer now will be a grooved 2"x4" with the groove facing skyward.
Remember, if you want the total fence height to be six feet you will build the fence base to five feet.
Do not cut the top of the posts until you finished installing the lattice top.
After you finished building the base you will cut to size one grooved 2"x4" and the lattice for each fence section using the same method as explained in building a fence.
Take your lattice and insert it into the groove.
Take your top grooved 2"x4" with the groove facing towards the lattice, slip lattice into the groove. This is easier to do with the aid of a friend. Also if you tilt the grooved 2"x4" at an angle it works best.
Make sure all the lattice is in place, sitting in both grooves and toenail your top board to the fence posts.
Finish by cutting your fence posts and installing fence caps.
After reviewing lattice fences check out our other informative pages.
